Using Docupilot and Zapier, you can automate document workflows with data from Google Sheets—streamlining everything from document creation to tracking signature status from DocuSign.
Prerequisites
Before you begin, please ensure the following:
- You have a template set up in Docupilot with a DocuSign delivery configured.
- Your Google Sheet includes the following additional columns to support tracking:
envelope Id– to store the DocuSign envelope IDstatus– to track the envelope statuslast updated time– to record the timestamp of the last status update
With the prerequisites in place, the workflow can be automated by setting up 3 Zaps in Zapier, as outlined below:
- Create Document using Docupilot when a Row is Updated in Google Sheets
- Capture Webhook Response and Update Rows in Google Sheets
- Check Status Periodically and Update Rows in Google Sheets
Zap 1: Create Document using Docupilot when a Row is Updated in Google Sheets
This Zap automates document generation using your spreadsheet data.
Step 1: Trigger — When a Row is Updated in Google Sheets
- App: Google Sheets
- Trigger: Updated Spreadsheet Row
- Select the specific Sheet and Worksheet where your data is stored.


This step ensures that any update to a row’s trigger column triggers the Zap.
Step 2: Action — Create Document using Docupilot
- App: Docupilot
- Action: Create Document
- Choose the relevant Template
Map the fields from the spreadsheet to the corresponding tokens in your Docupilot template.


If you are connecting your Docupilot account to Zapier for the first time, you need to integrate it with API Key. Here’s our help guide on creating an API Key for your reference.
Zap 2: Capture Webhook Response and Update Rows in Google Sheets
This Zap captures webhook data and updates your Google Sheet with the relevant status tracking information.
Step 1: Trigger — Webhooks by Zapier
- App: Webhooks by Zapier
- Trigger: Catch Hook
- Copy the webhook URL. In your Docupilot account, navigate to your Docusign Delivery > Advanced Settings > On Success Callback URL and paste it.
- Under Advanced Configuration, select Data, then add
record IDas the key and{{token}}as the value. - Save changes.
- Move to test section in Catch Hook
- Run Zap 1 now. This will to generate a document and execute the Docusign delivery and call the catch hook configured above.


Step 2: Action — Update Row(s) in Google Sheets
- App: Google Sheets
- Action: Update Spreadsheet Row(s)
- Select the Spreadsheet and worksheet to map the data from the webhook to update
envelope Id,status,last updated timeandRow Number.


Zap 3: Check Status Periodically and Update Rows in Google Sheets
This Zap helps you track progress by checking status from Docusign and reflecting it back in Sheets.

Step 1: Trigger — Schedule
- App: Schedule by Zapier
- Trigger: Every Day (You can choose your preferred frequency – ex: 15min)

Step 2: Action — Get Many Spreadsheet Rows
- App: Google Sheets
- Action: Get Many Spreadsheet Rows (Advanced)

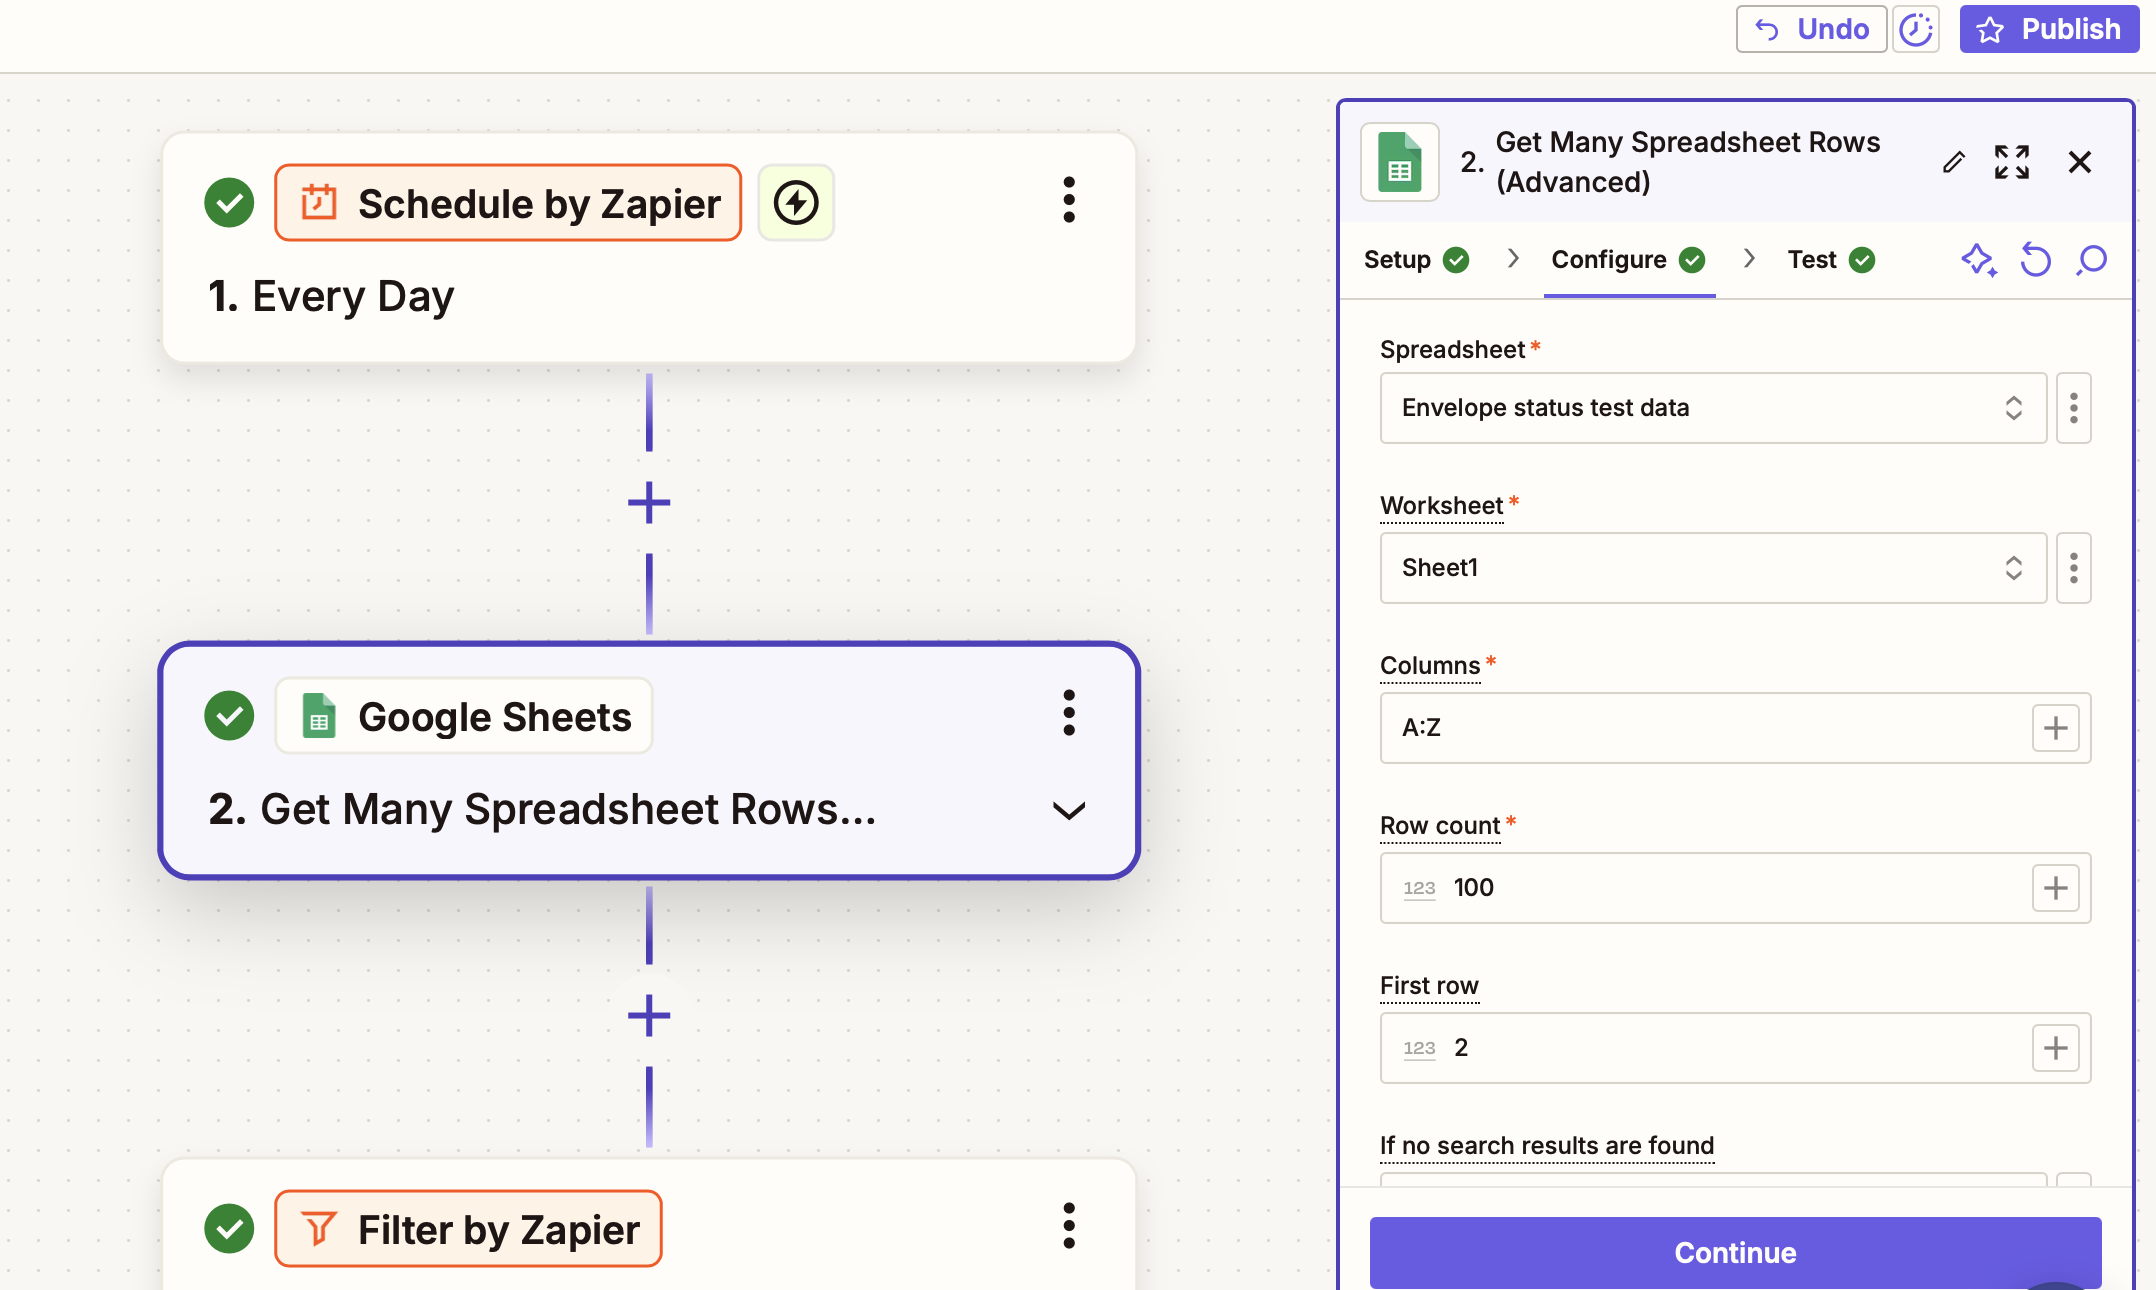
Step 3: Filter Rows
- App: Filter by Zapier
- Configure the condition to continue only for rows where the status column from the spreadsheet fetched in Step 2 does not contain “completed” or “voided”.

Step 4: Loop Through Rows
- App: Looping by Zapier
- Action: Create Loop From Line Items
- Use Looping by Zapier to iterate through each row based on
record Idandenvelope Id

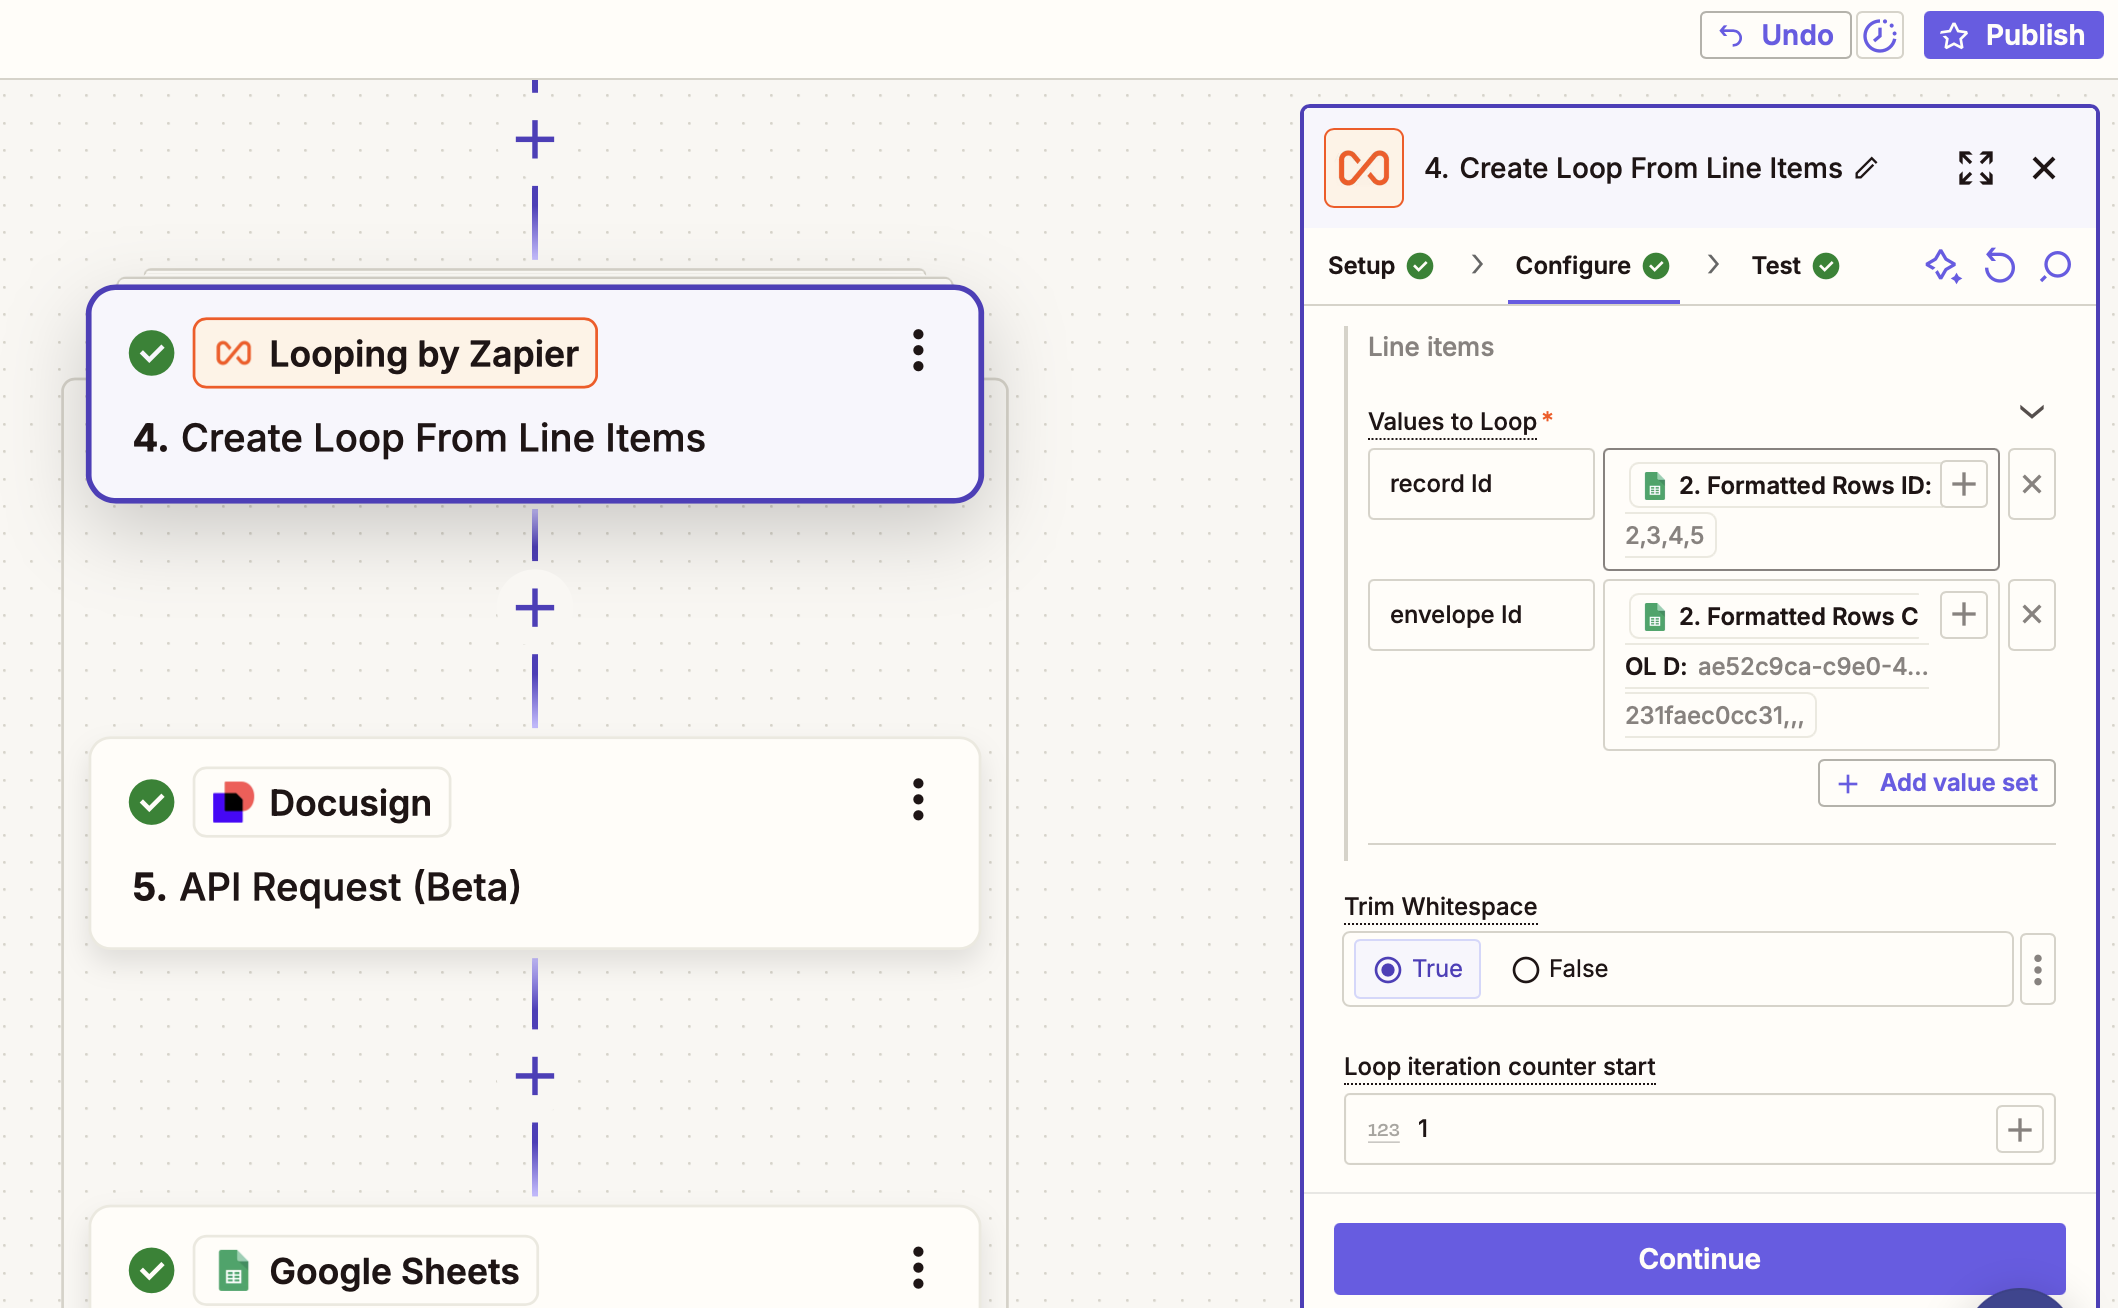
Step 5: Action — Fetch Status from DocuSign
-
App: Docusign
-
Action: API Request (Beta)
-
Account: Connect your Docusign account in Setup and continue to Configure.
-
Stop on error: No
-
HTTP Method: Get
-
URL: https://na2.docusign.net/restapi/v2.1/accounts/{account Id}/envelopes/{envelope Id}
** {account Id} refers to Docusign’s API Account ID and {envelope Id} needs to be mapped from Step 4.
Please visit Docusign’s API Account ID for more details.


The latest envelope status is fetched from DocuSign through an API call using the Envelope ID from Step 4.
Step 6: Lookup Row in Google Sheets
- App: Google Sheets
- Action: Lookup Spreadsheet Row to find the corresponding row using envelope Id as an identifier
- Map the Lookup Column as
envelope Idfrom your sheets and Lookup Value asResponse Data Envelope IDfetched from Step 5. - Mark the search from last row as False


Step 7: Update Row in Google Sheets
- App: Google Sheets
- Action: Update Spreadsheet Row
- Select the Spreadsheet and worksheet to map status and last updated time fetched from Docusign in Step 5.


Test all the steps above, and once everything is set up, you can publish the Zaps.
With these three Zaps in place, your workflow becomes fully automated—from document creation to signature status tracking.
This setup works for spreadsheets with up to 500 rows. If your sheet contains more than 500 rows, you’ll need to include a “Lookup Spreadsheet Rows (Advanced)” step in Zap 3.
Try this setup and let us know if you need help in adjusting it to your use case!